


So. A new post on this blog. After almost a month and a half, that's quite shameful. But, this is what I'd been doing for a month, immediately after my last post.
I traveled to all those places, and then headed back to Warwick for my final week there. Because of a number of reasons, I decided to head home to do my dissertation (a 15,000 word essay), and leave a month earlier than most everyone. It's a whole other matter that those reasons aren't too valid right now, but hey, I'm home now, so what can I do. I was busy packing and saying my goodbyes, and I've been home for a week now, unpacking and saying hellos. It's only now that I've got some breathing time to actually write up a post. All you guys that are reading this and have stuck by me, I really, genuinely, thank you. I promise, none of that anymore.

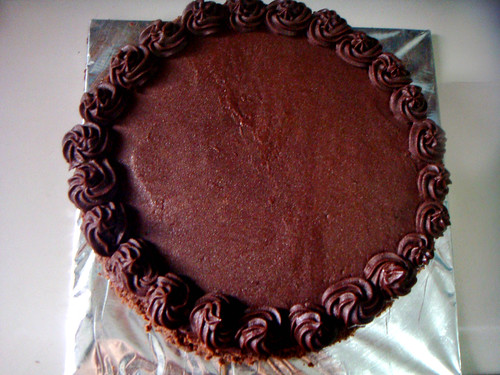
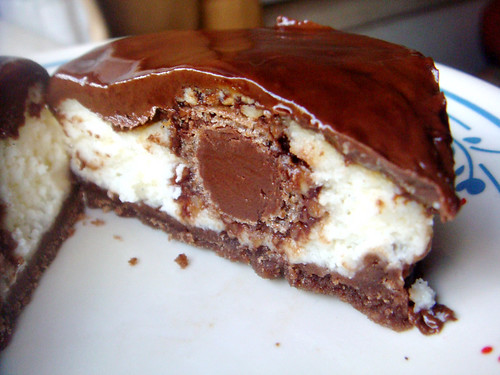
And all you guys that left? I've got a great cake to try and win you back. Is a Chocolate Oreo Cake good enough? It should be, because this cake was amazing. Even more fun, just attacking the entire thing with some forks. There has never been a better feeling.

Look at that dreamy filling
Chocolate Oreo Cake
Avanika original - Individual components linked.For the cake -
I used the recipe for this cake, from Chocolate Cakes
For the filling -
1/2 cup whipping cream
2 tsp powdered sugar
About 20 oreos, cut into quarters
Instructions -
- Whip the cream and the sugar together until fluffy. Gently fold in the pieces of Oreos.
For the frosting -
Again, I used the recipe from the cake I linked to, it's super easy, and one I use when I need something lighter and not sinfully rich. Follow the instructions to make one batch of the frosting.
Assemble -
- Stack the first torted layer, flat side down on your cake board. Scoop on a 1/3rd of the filling.
- Now add the second layer, pressing down slightly. Scoop on another third of the filling.
- Repeat for third layer, and then add on the fourth, making sure the top of the cake has the bottom flat surface of a torted cake, so that it's completely straight and easy to frost.
- Add a thin layer of the frosting - a crumb coat - and allow to chill for a few minutes in the fridge. Now add on the final layer, and decorate as desired. I like keeping it simple, to give off a homemade cake feel. Cut and serve :)


Oreos brought me to your space!, you like in UK is it ? I did not know, do visit me when you have time, don't forget to bring this cake as well :), My kid will fall in love with you her two favourite ingredients Oreos and Chocolate! Cake looks superb, nice texture.. lovely clicks..
ReplyDeleteWelcome back! Cake look delicious, thanks for sharing.
ReplyDeleteWelcome back! And what a cake to come back with too! :D
ReplyDeleteWelcome back. Good luck with your dissertation. This cake is beautiful cake and I'm sure as tasty as it looks.
ReplyDelete