


Ok, this is going to be a super short post, since most of what we were doing was practicing, and kinda messy! Few pictures, not much to talk about! Anyway, here goes -
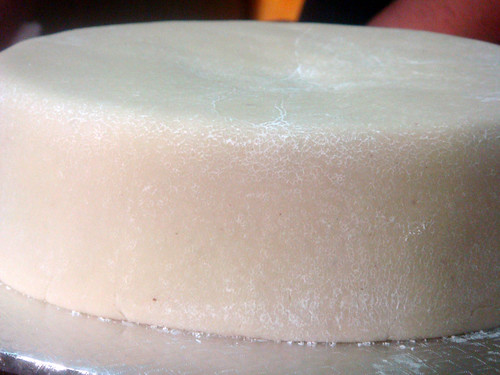
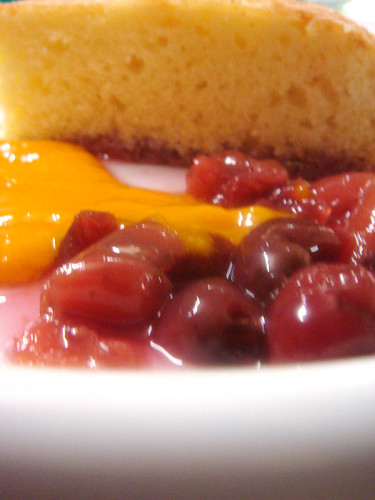
I had my 3rd session of the course a few days ago, wherein we were first taught a how to make a swirl/zebra cake, with various colors and flavors of batter! No pics, but I'm making the same cake tomorrow, so I'll show it to you in next week's course's post!
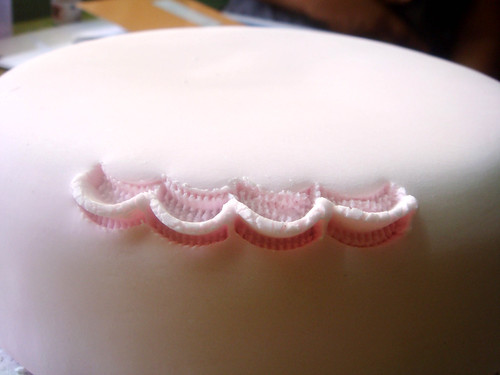
This session was very piping intensive, with us learning various flowers such as daisies, drop flowers, poinsettias etc, and leaves!
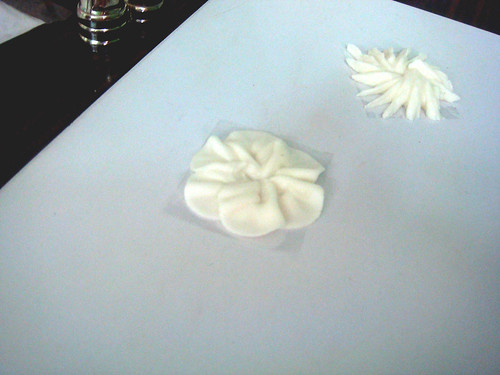
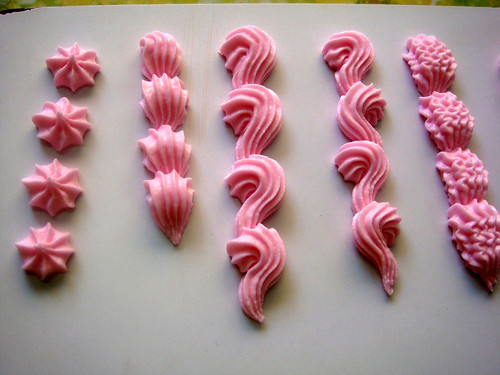
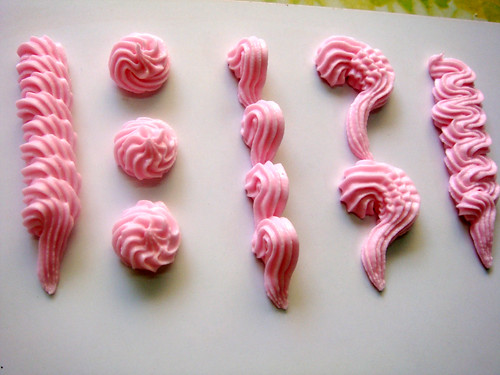
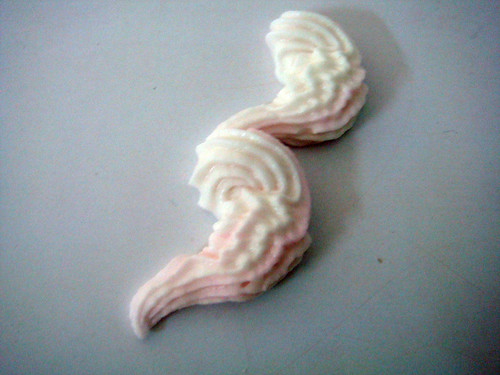
Those are my attempts at the daisy, and and the blossom. The picture is of the first attempt, so none look too good. I did learn how to do it by the end of it though.
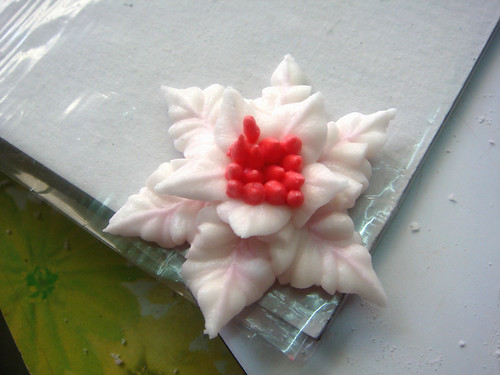
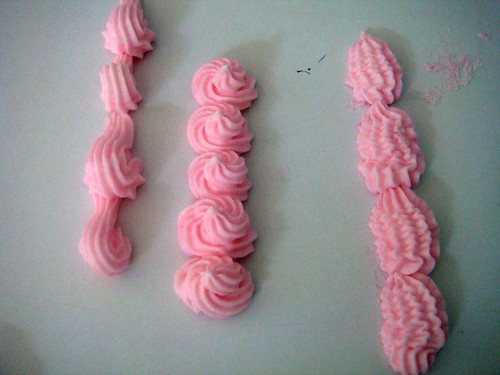
My poinsettia!! Had never actually seen this flower before, so I looked it up, and was ecstatic to find that mine looked pretty similar. I love the look of the flower!!
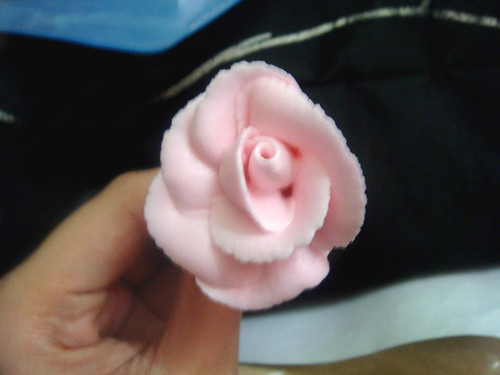
Rose - Made on a toothpick instead of a rose nail. Very different method from the other class! I liked this much better, and plan to improve on it by using techniques shown in numerous YT videos!
What I'm really excited about is the next session, which is day after tomorrow! All of us have to make our own cakes, marzipan, fondant, any flowers and leaves we want to use, and decorate and pipe in class! I've spent most of today doing the cake, and flowers! But I simply cant seem to get to the right consistency. Its always either too thin, or too thick! I'm going to go get a refresher tomorrow, with the instructors, and will have my cake ready by day after. Expect lotss of pictures!! I'm mainly using roses and leaves, all other details will be revealed in the next post. [Yeah, I'm trying to create some suspense. Didn't it work?] Lol. I'm super excited, really hope the cake will look good!
Sorry about the short post, but as I already said, there wasn't much to talk about. We spent most of the time in learning/practicing the flowers, till we got them right!! And plus, it was My Birthday [yes, that does need to be capitalised :P] , so I was a little pre-occupied :$ :)
Read more on this course - Part 1, Part 2, Part 4, Part 5, Part 6, Part 7, Part 8 Part 9, Part 10, Part 11
I had my 3rd session of the course a few days ago, wherein we were first taught a how to make a swirl/zebra cake, with various colors and flavors of batter! No pics, but I'm making the same cake tomorrow, so I'll show it to you in next week's course's post!
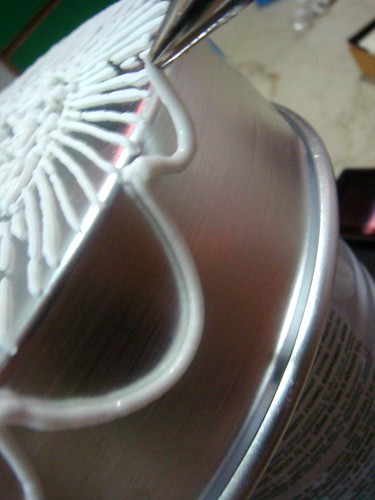
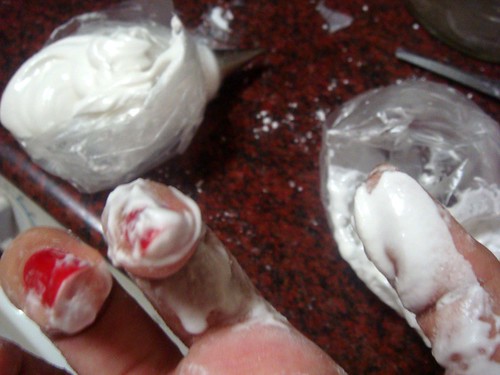
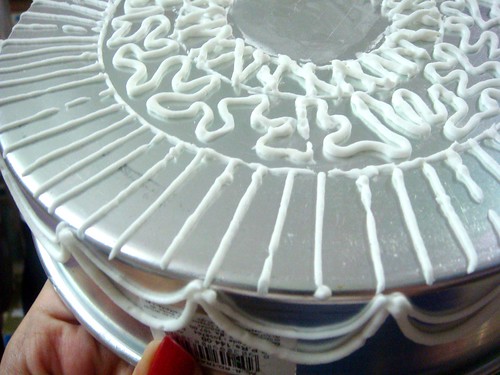
This session was very piping intensive, with us learning various flowers such as daisies, drop flowers, poinsettias etc, and leaves!
Those are my attempts at the daisy, and and the blossom. The picture is of the first attempt, so none look too good. I did learn how to do it by the end of it though.
My poinsettia!! Had never actually seen this flower before, so I looked it up, and was ecstatic to find that mine looked pretty similar. I love the look of the flower!!
Rose - Made on a toothpick instead of a rose nail. Very different method from the other class! I liked this much better, and plan to improve on it by using techniques shown in numerous YT videos!
What I'm really excited about is the next session, which is day after tomorrow! All of us have to make our own cakes, marzipan, fondant, any flowers and leaves we want to use, and decorate and pipe in class! I've spent most of today doing the cake, and flowers! But I simply cant seem to get to the right consistency. Its always either too thin, or too thick! I'm going to go get a refresher tomorrow, with the instructors, and will have my cake ready by day after. Expect lotss of pictures!! I'm mainly using roses and leaves, all other details will be revealed in the next post. [Yeah, I'm trying to create some suspense. Didn't it work?] Lol. I'm super excited, really hope the cake will look good!
Sorry about the short post, but as I already said, there wasn't much to talk about. We spent most of the time in learning/practicing the flowers, till we got them right!! And plus, it was My Birthday [yes, that does need to be capitalised :P] , so I was a little pre-occupied :$ :)
Read more on this course - Part 1, Part 2, Part 4, Part 5, Part 6, Part 7, Part 8 Part 9, Part 10, Part 11